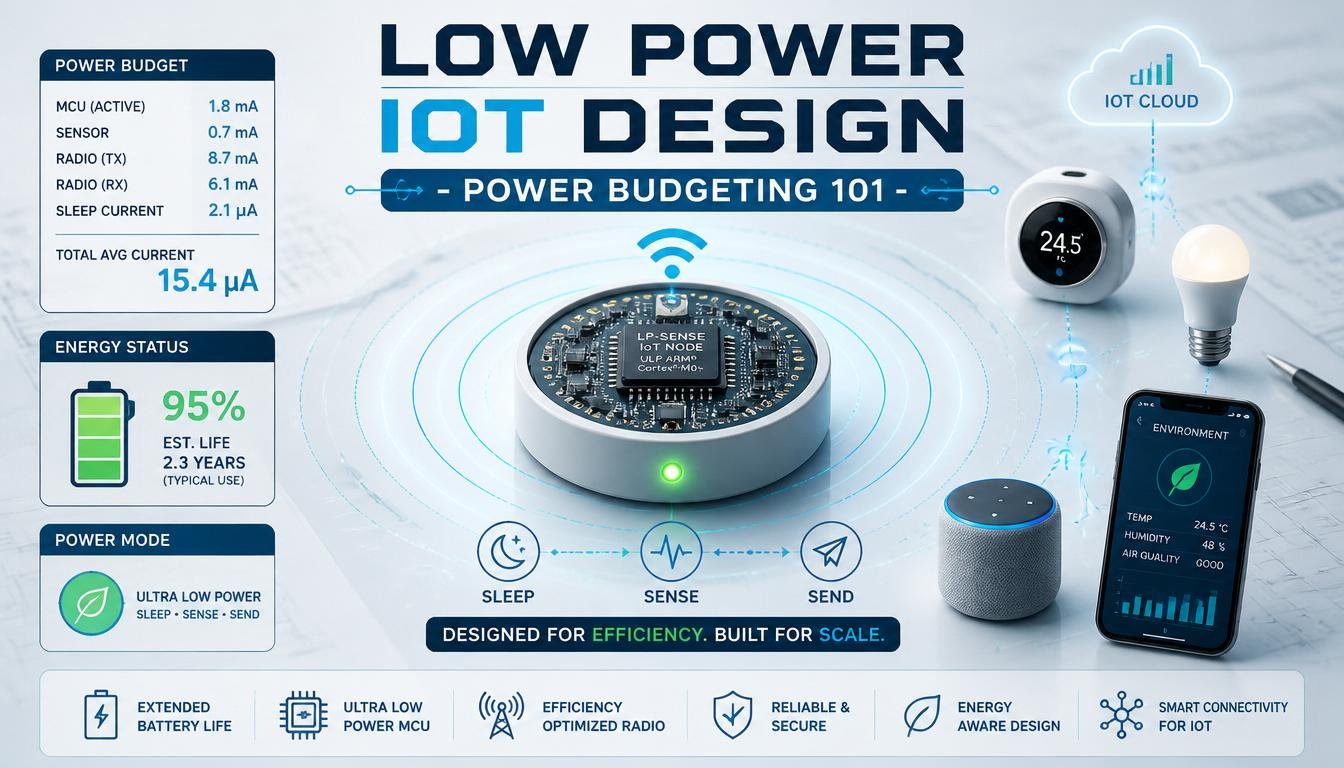
once built a custom tracking collar for my cat because it loves disappearing into the neighbor’s thick bushes for hours. I slapped on a tiny microcontroller, packed it in a lithium battery, and felt like an elite hardware engineer. Two hours later, the tracking device went completely dead because my poorly written code was consuming electrical energy like a hyperactive monster truck. My cat came home on his own, completely fine, but the gadget on his neck was so hot it felt like a fresh pocket warmer.
That was the exact day I realized that if you do not understand low-power Internet of Things design, your cool smart project is just an expensive piece of plastic that dies before lunch. Designing for the Internet of Things is not just about making things connect to the internet; it is about making them survive on a limited supply of electricity. Here is my ultimate guide to creating a bulletproof power budget for your remote hardware builds.
What is an IoT Power Budget Anyway?
Think of a power budget just like a standard monthly cash bank account. You start with a set amount of money, which represents your total battery capacity. Every time your device acts, like reading a sensor or sending a Wi-Fi message, it spends some money.
If your device spends money faster than it saves or replenishes it, you go broke, meaning your device shuts down completely. A power budget is a simple spreadsheet or calculation where you list every single state your device enters, how much electrical current it draws in that state, and exactly how long it stays there.
Without a proper budget, you are just guessing. You might buy a massive battery that makes your product too heavy and expensive, or you might use a tiny battery that dies in a week. To build a commercial product or a reliable home project, you must balance performance against power efficiency.
The Two Main Worlds: Active Current vs. Idle Leakage:
Every microcontroller operates in different states. To master low-power design, you must understand the massive chasm between active transmission mode and deep sleep states.
Active Mode:
This is when your microchip is fully awake, running its internal clock at maximum speed, reading data pins, and firing up its radio antenna to talk to a local router or a cellular tower. In this state, an ordinary board can pull anywhere from eighty to two hundred milliamperes of current. If your device stays awake continuously, a standard pair of double-A batteries will be completely drained in less than twenty-four hours.
Deep Sleep Mode:
In this state, the device turns off its radio, shuts down the main central processing unit, and disables non-essential internal circuits. Only a basic low-power internal timer stays alive to count down the seconds until the next wake-up event. In a well-designed system, deep sleep current draw drops from milliamperes down to single-digit microamperes.
To put that into perspective, one milliampere is equal to one thousand microamperes. Running your device in deep sleep mode consumes so little energy that the battery will practically last for years if left undisturbed.
Step 1: Mapping Out Your Device Operational States:
To build your first power budget, you need to dissect your device’s daily schedule. You cannot just look at the average numbers listed on a component datasheet because real-world performance varies wildly based on ambient temperatures and signal strength.
You need to identify three primary metrics for each operational state: the current draw measured in milliamperes, the duration of the state measured in seconds, and how frequently that state repeats over a specific timeframe.
Let us look at a standard remote environmental tracking node that wakes up once every single hour to send data. Here is how you map out the specific states of operation:
| Operational State | Current Draw (mA) | Duration per Event | Frequency |
| Deep Sleep | 0.015 mA | 3595 seconds | Continuous background state |
| Sensor Warmup | 5.000 mA | 2.000 seconds | Once per hour |
| Data Processing | 25.000 mA | 0.500 seconds | Once per hour |
| Radio Transmission | 120.000 mA | 2.500 seconds | Once per hour |
By looking at this breakdown, you can instantly see where your energy is vanishing. Even though the radio transmission state uses a staggering one hundred and twenty milliamperes, it only happens for two and a half seconds out of the entire hour. The goal of a great developer is to minimize that active window as much as physically possible.
Step 2: The Core Power Budget Math:
Do not worry, you do not need advanced calculus to calculate your device’s battery lifespan. You just need some basic multiplication and division. Let us calculate the average hourly consumption using the figures from our table above.
First, we calculate the total charge consumed during each distinct phase by multiplying the current draw by the time spent in that mode. This gives us milliampere-seconds.
- Deep Sleep Charge: 0.015 mA multiplied by 3595 seconds equals 53.925 mA-seconds.
- Sensor Warmup Charge: 5.000 mA multiplied by 2.000 seconds equals 10.000 mA-seconds.
- Data Processing Charge: 25.000 mA multiplied by 0.500 seconds equals 12.500 mA-seconds.
- Radio Transmission Charge: 120.000 mA multiplied by 2.500 seconds equals 300.000 mA-seconds.
Now, add those total charge numbers together. The sum is 376.425 milliampere-seconds per hour.
Since there are exactly 3600 seconds in one hour, we divide our total charge sum by 3600 to find our true average continuous current draw. In this case, 376.425 divided by 3600 gives us an average current draw of roughly 0.104 milliamperes per hour.
If you are using a standard lithium pouch battery rated for two thousand milliampere-hours, you simply divide the total battery capacity by your average hourly current draw. Two thousand divided by 0.104 tells us that our device will run for approximately nineteen thousand two hundred and thirty hours, which translates to over two full years of continuous maintenance-free operation.
Step 3: Hardware Optimization Hacks:
Once you finish your basic math formulas, you will likely find that your real-world prototype dies much faster than your spreadsheet predicts. This happens because of hidden energy drains built directly into cheap hobbyist development boards.
Ditch the Linear Voltage Regulators:
Most cheap microcontroller boards use linear voltage regulators to drop battery voltage down to a clean 3.3 volts. These simple regulators work by converting excess voltage directly into pure waste heat. If you connect a nine-volt battery to a 3.3-volt linear regulator, you are literally throwing away over sixty percent of your total energy capacity as invisible heat. Always switch to high-efficiency buck-boost switching regulators, which utilize magnetic fields to convert voltages with up to ninety-five percent efficiency.
Tackle Component Leakage Current:
Just because your microchip goes to sleep does not mean your connected peripheral sensors are sleeping too. Many cheap sensor modules lack proper internal power management controls. They will continue to draw power silently even when your main chip is completely unconscious.
To solve this issue, you can use a simple hardware trick: place a small P-channel field-effect transistor along the power line leading directly to your external sensors. You can use a digital output pin from your main controller to toggle this transistor switch, completely cutting off the electrical supply line to your sensors during deep sleep cycles.
Step 4: Software Strategies for Maximum Longevity:
Hardware selection determines your absolute best potential efficiency, but your software determines whether you actually reach that goal. Sloppy code paths will ruin the best hardware layout on the planet.
Maximize Your Duty Cycle Ratio:
The duty cycle is the ratio of active time compared to total sleep time. If your device takes ten seconds to connect to Wi-Fi every single time it wakes up, your duty cycle is highly inefficient.
You can optimize this connection speed by avoiding traditional DHCP network setups where your device must wait around for a local router to assign it an IP address. Instead, hardcode a static IP address directly into your device configuration profile. This minor change can drop your wireless connection handshake time from eight seconds down to less than two seconds flat.
Choose Lightweight Protocols:
Stop using heavy protocols like HTTP data requests for small remote sensors. Sending a simple temperature value over HTTP requires a massive amount of overhead text data packets that keep your radio module awake for extra seconds.
Switch to lightweight, binary-based alternative protocols like MQTT or lightweight user datagram protocols. These systems trim the extra text wrapper data away, allowing your radio antenna to flash its message and return to sleep mode within a tiny fraction of a second.
Conclusion:
Mastering low-power design is an absolute necessity if you want to create scalable, modern Internet of Things solutions that operate reliably without constant human intervention. By sitting down before you code and lay out your components, mapping your operational states, calculating your true average current consumption, and cleaning up both your voltage regulators and wireless transmission loops, you can easily stretch a battery’s lifespan from mere hours into multiple years. A great device is not just defined by what it does when it is awake, but by how beautifully it saves its energy resources when it is resting.
FAQs:
1. What does the term mAh mean when looking at a battery datasheet?
Milliampere-hours represent the total amount of electrical energy storage capacity inside a battery cell, indicating how many hours it can supply a set amount of current.
2. Why do alkaline batteries perform poorly in high-power tracking devices?
Alkaline batteries suffer from high internal resistance, causing their voltage levels to drop dramatically when a radio module requests sudden spikes of high current draw.
3. Can bad wireless network coverage cause my remote sensor battery to die early?
Yes, because if the signal coverage is poor, the device’s radio will automatically boost its broadcast power output and stay awake longer trying to re-establish a stable link.
4. Is it better to run a microchip fast or slow to save overall battery life?
It is usually best to run the processor at maximum speed so it can finish its computational tasks rapidly and return to deep sleep as quickly as possible.
5. What is the purpose of using a buck-boost converter in an IoT device?
A buck-boost converter efficiently regulates fluctuating battery voltage up or down to a constant, stable output level without generating excessive waste heat.
6. How much current does a typical microcontroller consume during deep sleep?
A well-designed bare microcontroller chip can consume anywhere from two to ten microamperes of current while resting in a deep sleep state.